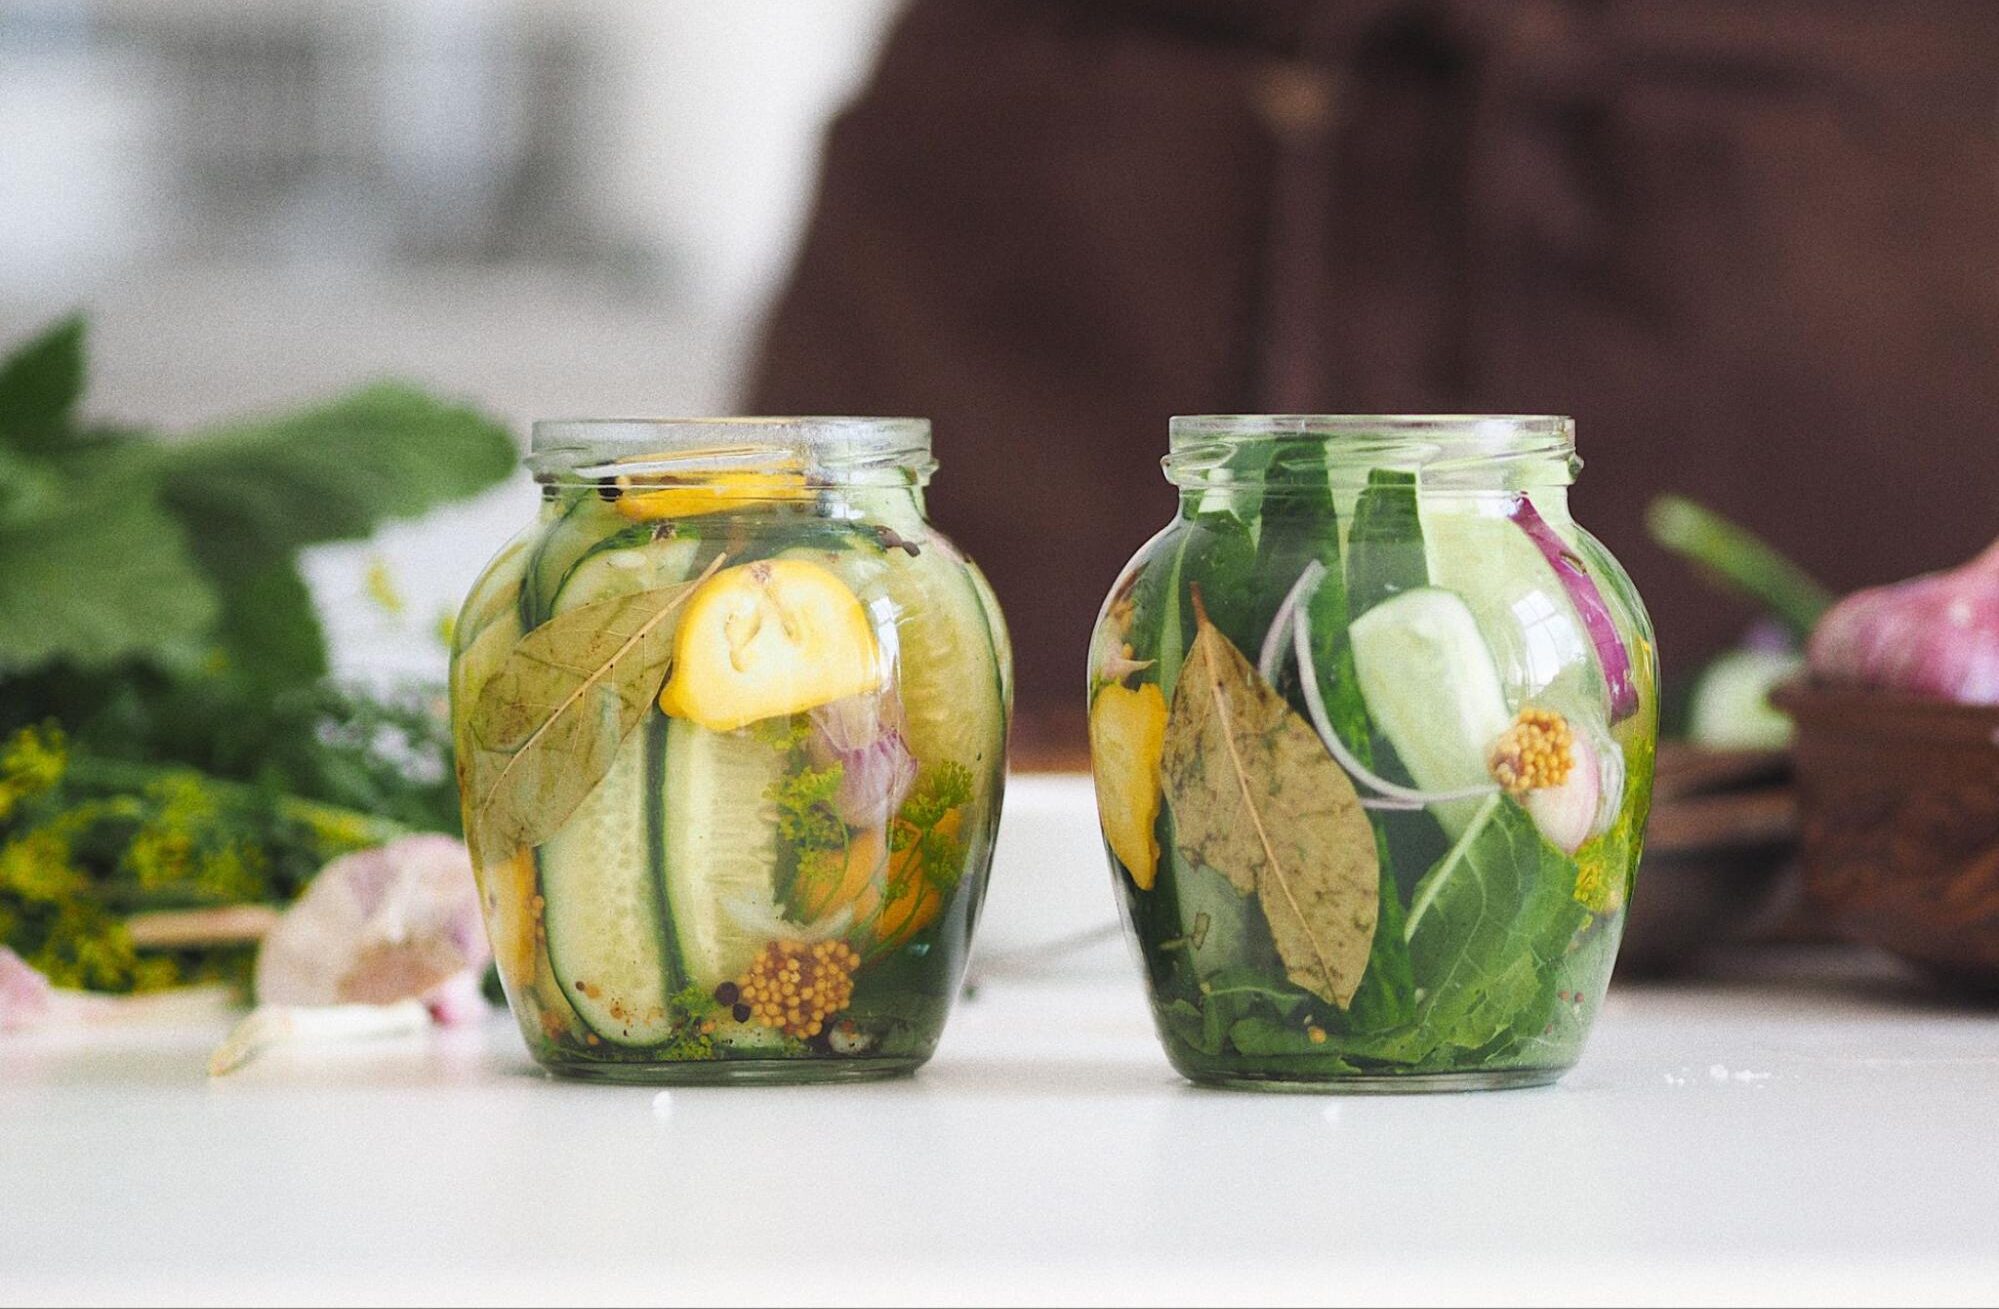
If you’re a home gardener or even a regular at your local farmers’ market, you know that September marks the end of the harvest. Summer veggies, ripe fruit, and fresh leafy greens abound. If you had any luck with your green thumb this year, odds are you’ve got more bounty than one salad could handle. Want to enjoy the flavors of summer through the upcoming fall and winter? Try pickling! Here are some of our favorite ways to make that goodness last.
Quick Pickling
This is a low-commitment technique for beginning picklers who still appreciate a snappy bite of flavor. You can try it with any vegetable, but it works best with porous items like red onions. Simmer equal parts water and white vinegar, and dissolve in your desired flavors, like salt, red pepper, and a dash of honey. While you wait, slice your desired vegetable thinly, so that the brine can permeate quickly. Pour the boiled mixture over your veggies and seal them in an airtight jar for 20 minutes. Quick-pickled red onions are delicious in tacos, stir fries, burgers, soups, and more!
Standard Pickling
If you want to get the most flavor out of your pickled veggies, you’re going to need a little lead time. The principle of standard pickling is the same as in quick pickling, only you can work more effectively with a wide array of veggies, and they’ll soak up all the delicious flavors of your brine for much longer. Here’s where the hobbyists really get hooked: experiment with different brine recipes for different items. Cucumbers, peppers, and cauliflower work really well with a sour brine of white vinegar, dill, cumin, mustard seed, and fresh garlic. Elevate your carrots, beats, and pearl onions with a sweet brine of cider vinegar, honey, black pepper, and turmeric. Once you’ve perfected your concoction, seal it in a sterilized glass jar for at least two days. Then, enjoy incredible pickled goodness on your sandwiches, charcuterie boards, kebabs, and more for up to two months.
Long-Term Pickling
The preferred method of off-the-gridders. When done right, pickled produce can keep for years, making it an excellent long-term skill. It is an investment, though. At the very least, you’ll need several canning jars, a jar lifter, a canning funnel, a rubber spatula, and a large pot big enough to accommodate the whole process. Boil the jars to sterilize them and activate the sealing compound, taking care to slowly bring the glass from lukewarm to hot so that it doesn’t shatter. Then, fill the jars with your desired ingredients, using a funnel and rubber spatula to get as much air out of the jar as possible. Finally, lid the vessels then boil them again to complete the seal. If the lid center doesn’t pop up when you press it down, you’re good to go! Sealed food can be enjoyed for one to two years!

